- 1,712
- 248
In honor of BTDB2 recently coming out, I'm bringing back the bloons thread, now on a different map!
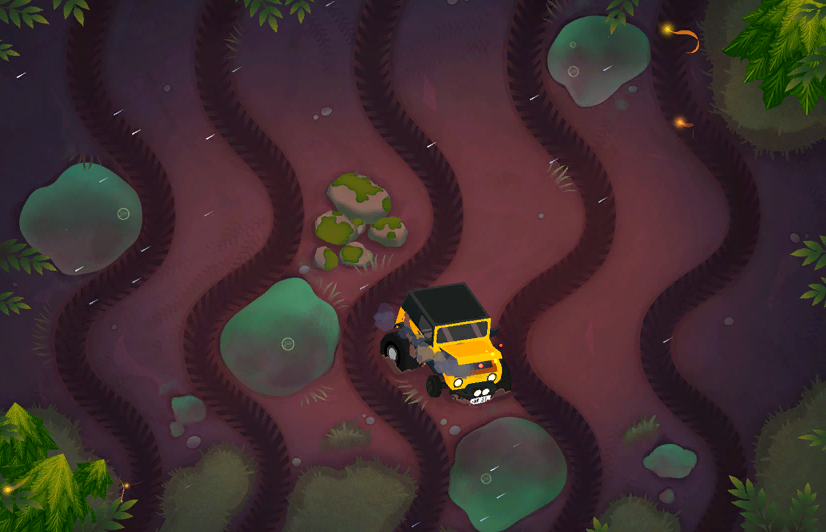
The character of your choice is placed somewhere in the Bloody Puddles map, as seen above. They cannot be placed on any of the 5 tracks, the rocks in the middle, or on the broken jeep which may serve as an obstacle for them to need to work around. They can only be placed in the pools of water if the character has the ability to float in water, stand on water, fly, etc.
Once your character has chosen a spot, their movement speed is dropped to immobile for the duration of the fight. This rule does not apply to any summons, if notable.
If the Jeep serves to be an issue, your character is able to remove it if they are able to pay $1000 at which point a helicopter will try to move it, crash, creating a bigger obstacle, and only then can your character pay an extra $500 to actually remove both the Jeep and the helicopter. Both of these object removals can be done at any point in the fight.
Once the spot is chosen and your character is immobile, waves of bloons and eventually MOAB's will begin appearing at opposite ends of various lanes of track, depending on which round it is. Beginning at round 6, each round bloons will emerge from 2 lanes, one from the top and the other from the bottom. Every round, the lanes alternate from top lane 1 & bottom lane 5 to top lane 2 & bottom lane 4 to top lane 3 & bottom lane 3, at which point it cycles back going in reverse order repeating the chain all the way up to round 100.
If even a single bloon makes it to the end of its respective lane, your character loses. If they can pop every bloon in time all the way through to round 100, they win! Whenever a bloon pops, it spawns another bloon 1 tier lower than itself in its place, however bigger AP attacks do tend to go through more than 1 layer of bloon at a time. When the bloon is a high enough tier (white/black/purple and above) it spans multiple lower tier bloons in its place, and if enough AP is dealt to pop more than 1 layer, more than multiple bloons will still spawn in its place. For example, an upgraded 2-x-x sniper monkey can deal enough damage to turn rainbow bloons into red bloons, but since rainbows spawn 2 zebras, zebras spawn a white and a black, and whites/blacks spawn 2 pinks, the sniper actually pops the rainbow bloon into 8 red bloons which is harder because the sniper excels at single target damage.
Since size tends to be relative to the map in btd games, your character will be artificially scaled up/down to be roughly the same size as a dart monkey, as depicted here
Remember that some of the bloons' greatest strength is in their numbers and good luck!